
SvelteKit is an officially supported framework, built around Svelte. It adds key features to a Svelte app — such as routing, layouts and server-side rendering — and makes front-end development outrageously simple.
In this tutorial, we’ll take a beginner-friendly look at both Svelte and SvelteKit and build out a simple web app showing profile pages of imaginary users. Along the way, we’ll look at all the main features that SvelteKit has to offer.
Let’s start by looking at what Svelte brings to the table.
The Benefits of Working with Svelte
Svelte is growing in popularity, and that’s for a good reason. Developing apps with Svelte is based on writing reusable and self-contained components — similar to other popular JavaScript frameworks such as React.
The big difference comes with its build-time compilation — as opposed to a run-time interpretation of the code. In other words, Svelte already compiles your code during the build process and the final bundle only contains JavaScript that your application actually needs. This results in fast web apps with small bundle sizes.
Other frameworks only parse and bundle up the code you’ve written, essentially taking the component tree as is and shipping it to the client. In order for the browser to be able to interpret it and update the UI, a lot more code needs to be delivered and additional work is done on the client side. (You can read here how React handles this process under the hood.)
Other than that, Svelte is an ideal framework for beginners. Everyone who knows how to write HTML and how to include <style> and <script> tags with basic JavaScript and CSS can already start writing Svelte components.
So, Why Do I Need SvelteKit?
While Svelte alone gives you a very good development experience, you still have to decide on how you want to ship your application to the user. The classical approach would be to take your favorite module bundler like webpack or Rollup and bundle your code into one big, fat JavaScript file. Then, you’d call it from a very basic HTML document, like so:
<!DOCTYPE html>
<html>
  <head>
    <meta charset="UTF-8" />
    ...
  </head>

  <body>
    <!-- the entry point of your application -->
    <div id="app" />
    <!-- load the JavaScript that takes care of the rest -->
    <script src="dist/bundle.js"></script>
  </body>
</html>
While this is absolutely legit, the user’s experience might not be ideal. There are many touchpoints for improvement and this is where SvelteKit comes into play.
First of all, instead of serving an almost empty HTML file to the client, SvelteKit already comes with all the HTML elements you need for the first page view. The benefits are faster page loads and SEO boosts. There are two ways SvelteKit does this: prerendering and server-side rendering. I’ll explain both in more detail below. What stays the same is that once the JavaScript has been loaded, it takes over and enables typical features of a single page application, like client-side routing.
The second obvious difference between SvelteKit and a classical single JavaScript bundle is code-splitting. Instead of serving the entire app in one single Javascript file, SvelteKit splits the code into separate smaller chunks. Each chunk represents a route of your application. For example, everything that needs to be fetched for the /home and for the /about routes will be loaded once the user actually needs it — or a little bit earlier if you make use of SvelteKit’s prefetching functionality (like we’ll do below).
Another outstanding benefit of SvelteKit is that you can decide in which deployment environment your app is going to run. Nowadays, front-end developers have a variety of different platforms where applications can run. There are hosting providers for simple static files, more advanced serverless options such as Netlify, or server environments where Node servers can be executed, and so on. With tiny plugins called adapters, you tell SvelteKit to optimize your output for a specific platform. This greatly facilitates app deployment.
However, the biggest advantage SvelteKit has to offer is its ease of use. Of course, you can manually set up your build process from scratch with all these features, but this can be tedious and frustrating. SvelteKit makes it as easy as possible for you, and the best way to experience this is by actually using it.
This is why we’ll create a simple web app showing profile pages of made-up users. And along the way, we’ll look at all the features I’ve mentioned above in more detail.
Prerequisites
No previous knowledge is required, although some experience with Svelte might be helpful. The article “Meet Svelte 3, a Powerful, Even Radical JavaScript Framework” provides a good introduction.
To work with SvelteKit, you’ll need a working version of Node on your system. You can install it using the Node Version Manager (nvm). (You can find some setup instructions here.)
Please be aware that SvelteKit is (at the time of writing) still in beta, and some features might be subject to change. You can find all the code for this tutorial on GitHub.
Getting Started
To begin with, we initiate a new SvelteKit project. Execute the following commands in your terminal:
npm init svelte@next svelteKit-example-app
You’ll be asked a few questions so that you can customize your project. For our purposes, answer the following:
- Which Svelte app template? -> SvelteKit demo app
- Use TypeScript components -> no
- Add ESLint for code linting? -> no
- Add Prettier for code formatting? -> no
This will load a SvelteKit development environment including a functional example application.
In your project route there are now some configuration files: your package.json, the static folder, and the src folder. We’ll be working mainly inside the src folder. It has the following structure.
src
├── app.css
├── app.html
├── global.d.ts
├── hooks.js
├── lib
│   ├── Counter
│   │   └── index.svelte
│   ├── form.js
│   └── Header
│       ├── index.svelte
│       └── svelte-logo.svg
└── routes
    ├── __layout.svelte
    ├── about.svelte
    ├── index.svelte
    └── todos
        ├── _api.js
        ├── index.json.js
        ├── index.svelte
        └── [uid].json.js
The /src/app.html file is your app-shell, a minimal HTML page where your rendered HTML will be inserted and your bundle files linked from. Usually you don’t have to touch this file. You can insert some app-wide meta tags if you want to, but this isn’t necessary — as you will see in a moment.
The /src/routes folder is the heart of your application. The files inside this folder define the routes of your app. There are two types of routes: pages and endpoints. pages are Svelte components and are indicated by the .svelte extension. For example, a component named /src/routes/test.svelte would be served under the route /test. endpoints are normal JavaScript (or TypeScript) files and enable you to generate HTTP endpoints to fetch data.
Svelte components can have child components. For example, the route component /src/routes/test.svelte might import a component named Button.svelte. The place where you would store all your child components is the /src/lib folder.
Let’s see how all this works in action. Change into the newly created directory, then install the dependencies and start the app in development mode:
cd svelteKit-example-app
npm install
npm run dev -- --open
This will open the preexisting example app in a new browser tab. Click through the app and assure yourself it’s working.
Some preparation
As polished as the demo app is, it contains a bunch of files that we won’t need. Let’s get rid of those.
Delete the contents of the lib folder:
rm src/lib/*
Delete the routes/todos folder:
rm -rf src/routes/todos
We can do without the demo app’s styling. In the root of the project, open app.css and replace the contents with the following:
:root {  font-family: -apple-system, BlinkMacSystemFont, 'Segoe UI', Roboto, Oxygen, Ubuntu, Cantarell, 'Open Sans', 'Helvetica Neue', sans-serif;}
body {  margin: 0;}
Finally, open src/index.svelte and replace the contents with the following:
<main>
  <h1>HOME</h1>
</main>
With that done, let’s get to building out our demo.
Layouts and Client-side Routing
As I wrote above, every Svelte component in the routes folder defines one route. However, there’s one exception: the layout component, named __layout.svelte. This component contains code that applies to every single page of your app.
Let’s open the existing /src/routes/__layout.svelte file. All it does for now is import some app-wide CSS code. The <slot> element wraps the rest of the application. Let’s replace the content with the following:
<script>
  import "../app.css";
</script>

<svelte:head>
  <meta name="robots" content="noindex" />
</svelte:head>

<nav>
  <a href=".">HOME</a>
  <a href="/about">ABOUT</a>
</nav>

<slot />

<style>
  nav {
    padding: 1rem;
    box-shadow: -1px 1px 11px 4px #898989;
  }
  a {
    text-decoration: none;
    color: gray;
    margin-right: 1rem;
  }
</style>
Note: if you want to have syntax highlighting for Svelte files, there are extensions you can install. This one is good for VS Code.
In this example, we used the <svelte:head> element to define meta tags that will be inserted in the <head> of our document. Since we did this in the layout component, it will be applied to the entire app. The robot tag is just an example.
Furthermore, we created a navbar. This is a typical use case for the layout component, as it’s usually intended to be shown on every page of your application.
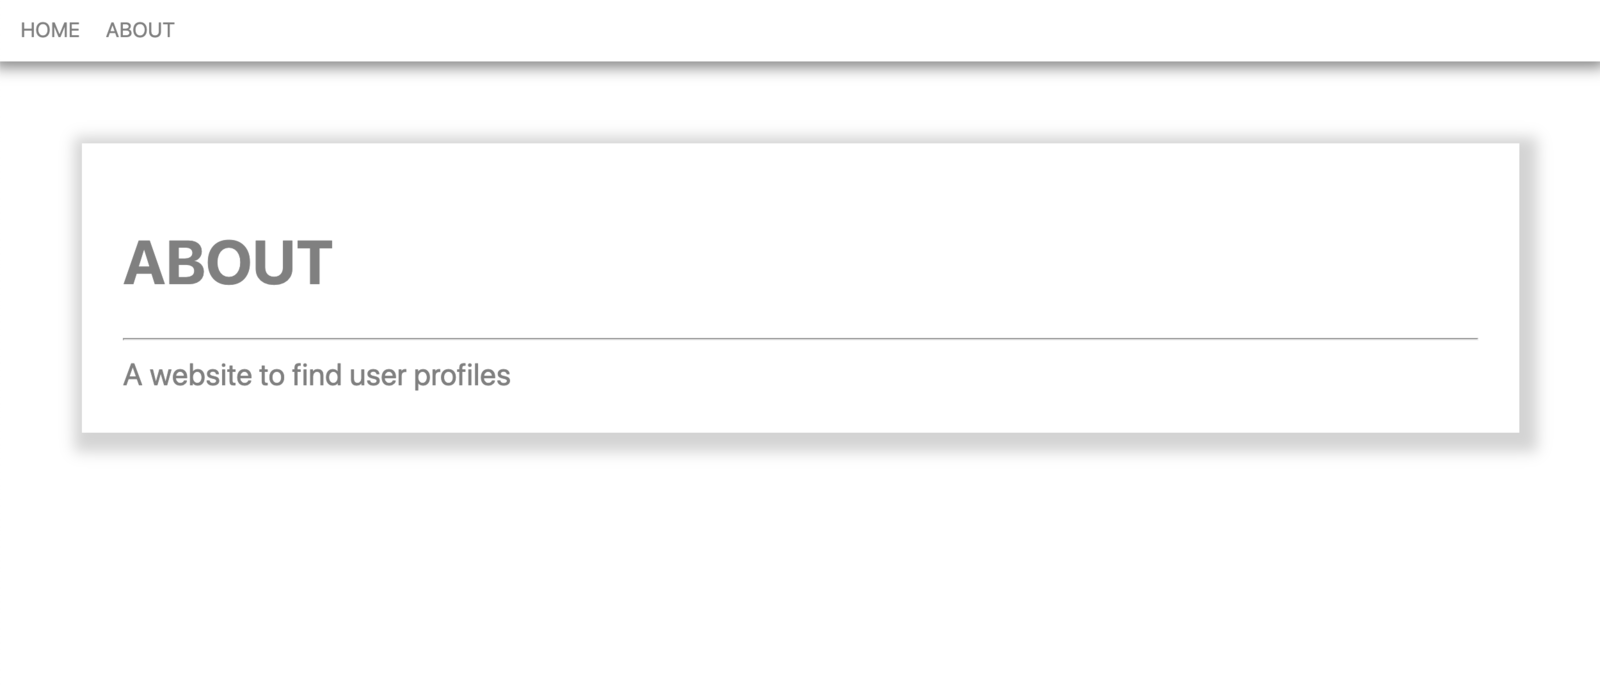
The navbar has two links: one to the root of the application — which already has content served by the /src/routes/index.svelte component — and one to the about page. The about page was also created by the demo app. Open it and replace its content with the following:
<main>
  <h1>ABOUT</h1>
  <hr />
  <div>A website to find user profiles</div>
</main>

<style>
  main {
    font-size: 1.5rem;
    margin: 4rem;
    padding: 2rem;
    color: gray;
    justify-content: center;
    box-shadow: 4px 5px 11px 10px lightgray;
  }
</style>
This page is pretty basic. We included some HTML and applied some styling.
Let’s go back to the browser and navigate to the new page. Our modifications should already be visible and you should see something like this:
Let’s navigate between the landing page and the about page. You might realize that changing the page doesn’t refresh the entire application. The navigation feels smooth and instant. This is because SvelteKit applies Client-Side Routing out of the box. Although we used normal <a> tags in our navbar, SvelteKit identifies those as internal links and intercepts them using its built-in client router.
Continue reading
A Beginner’s Guide to SvelteKit
on SitePoint.


